OUTDOORS INSPIRED

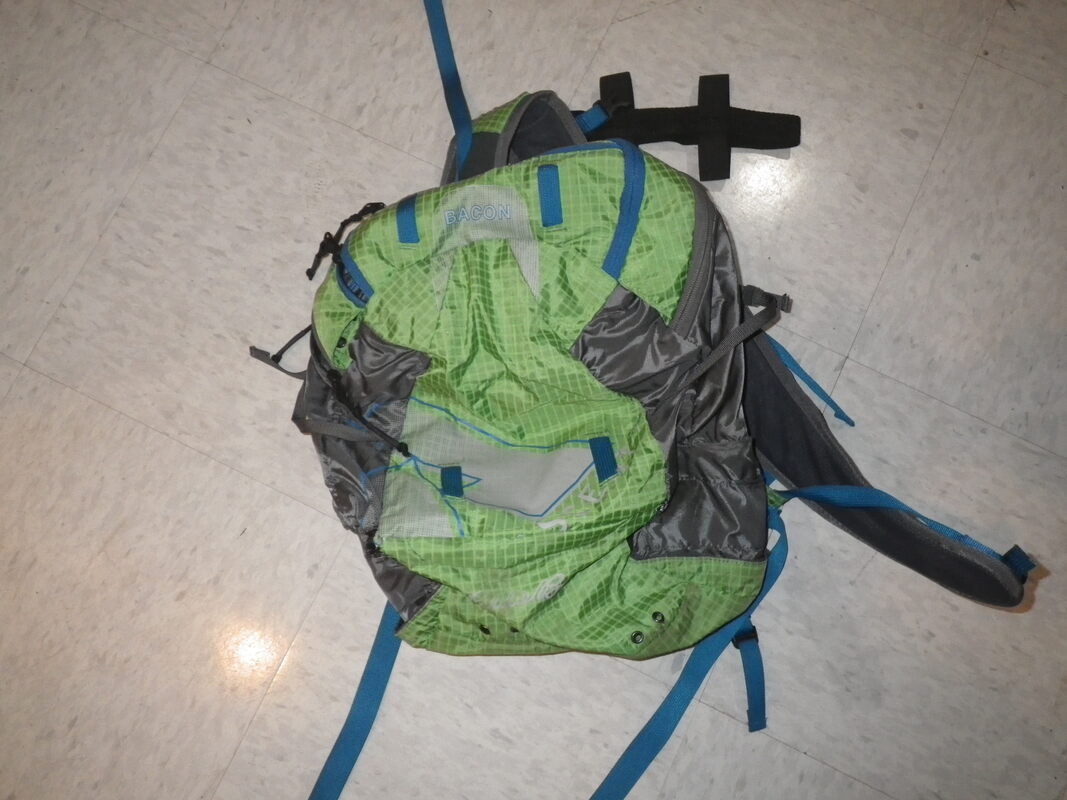
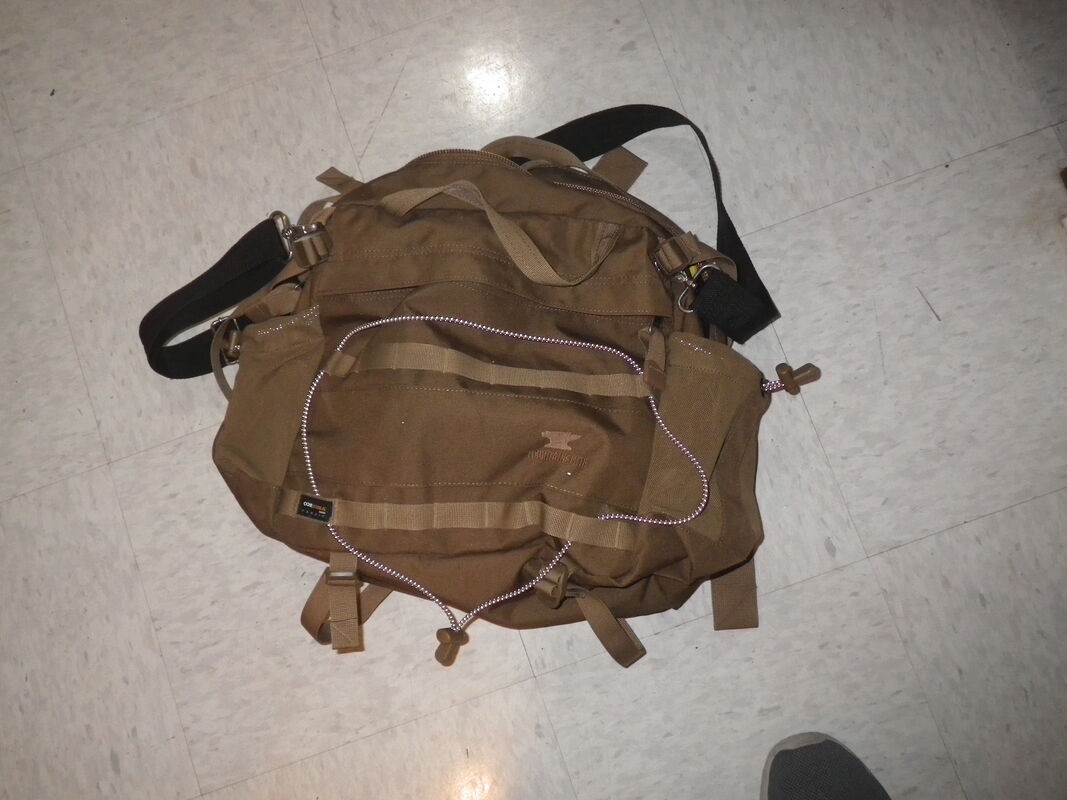
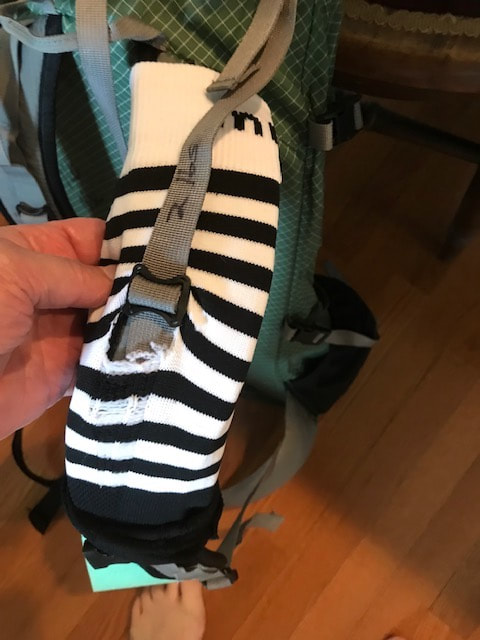
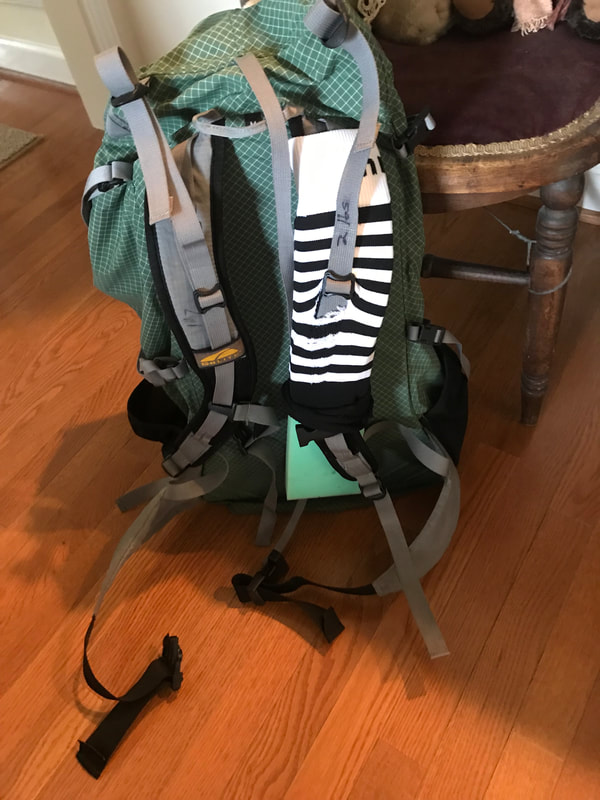
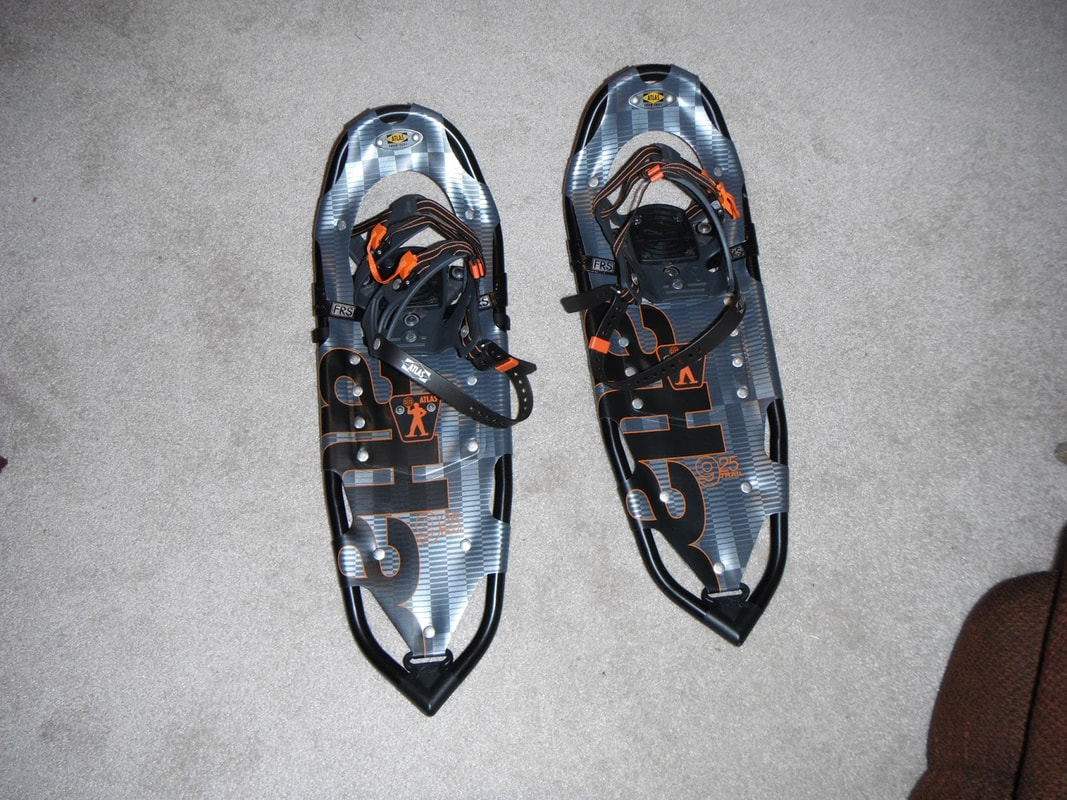
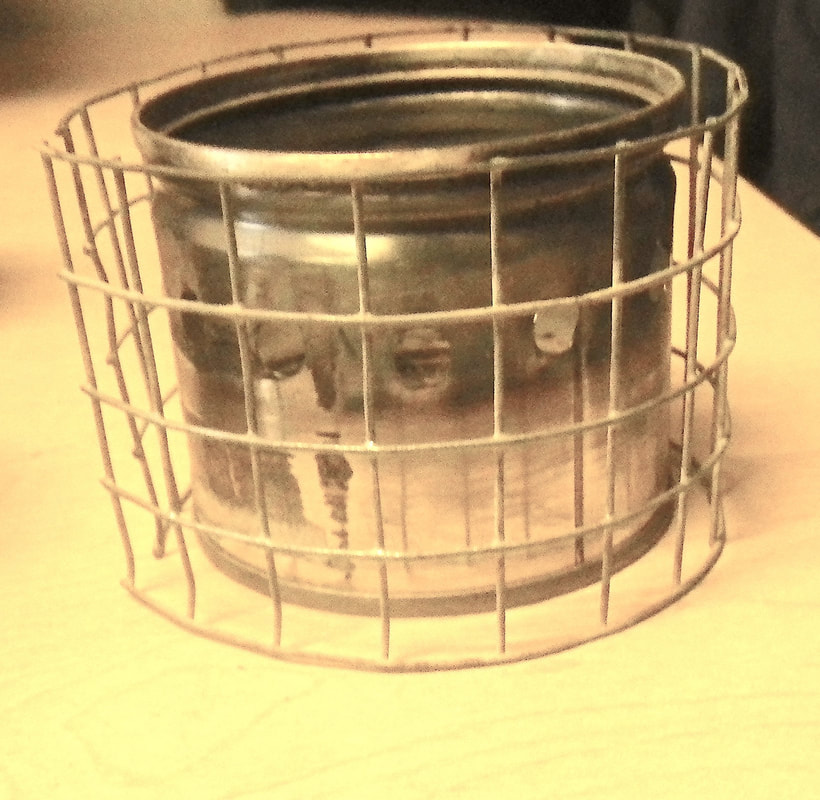
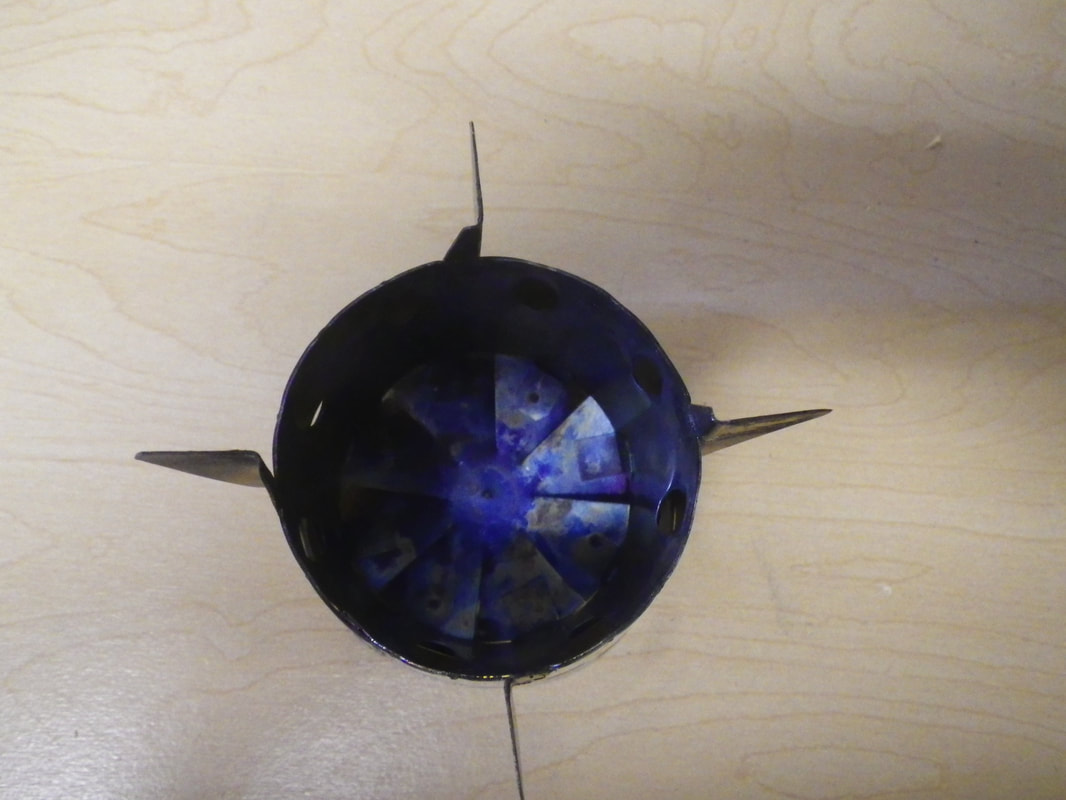
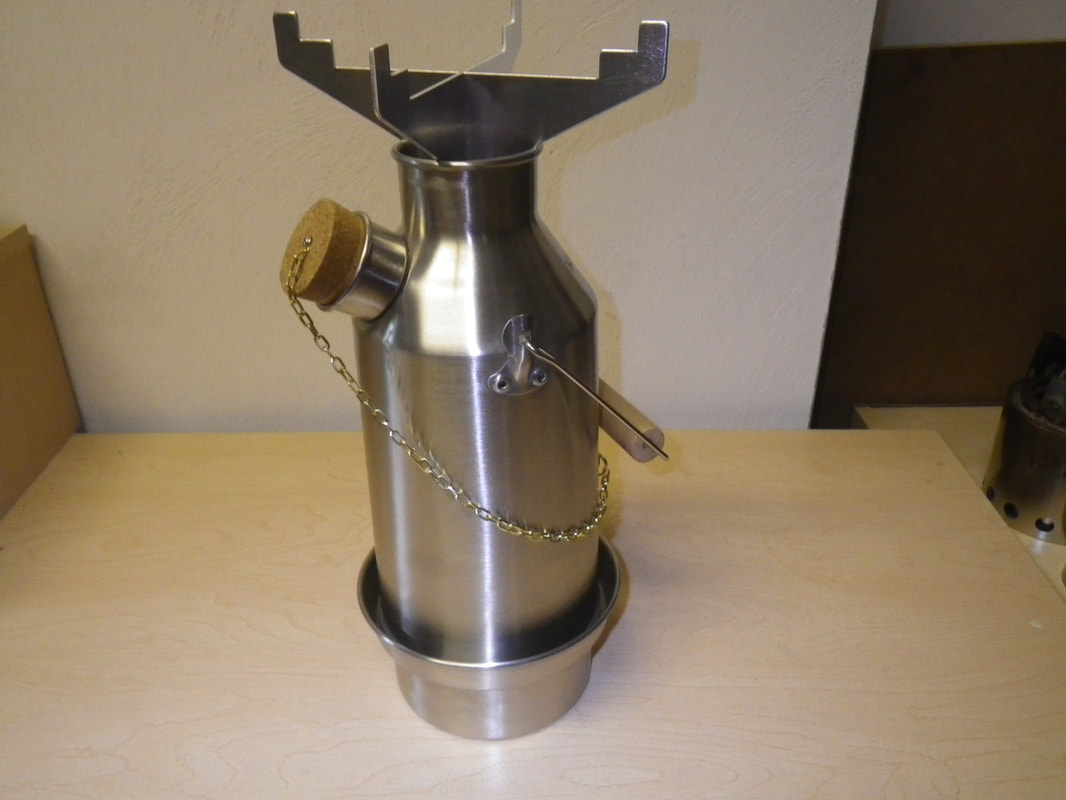
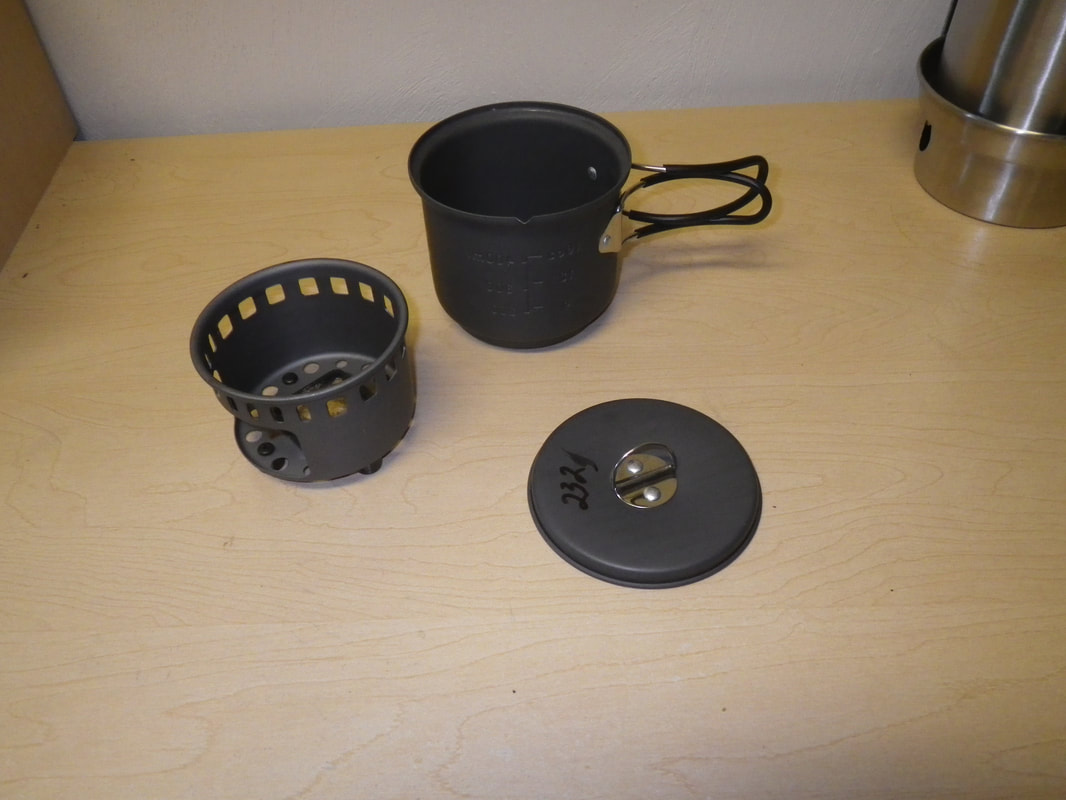
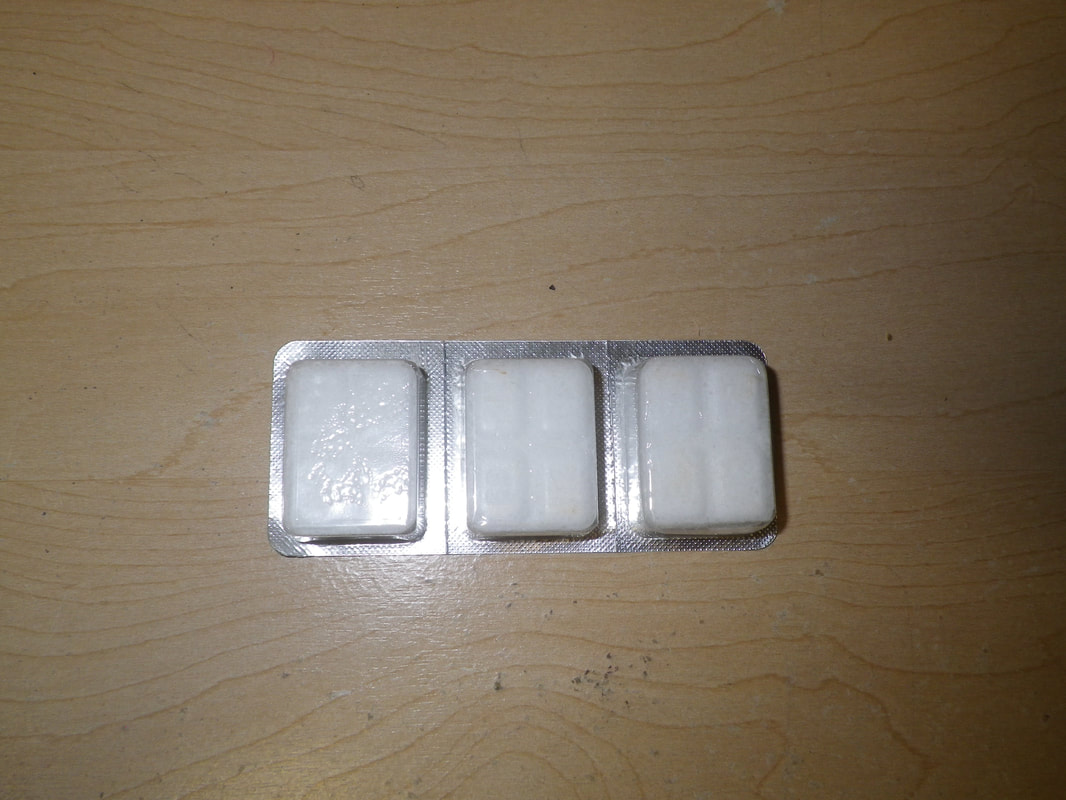
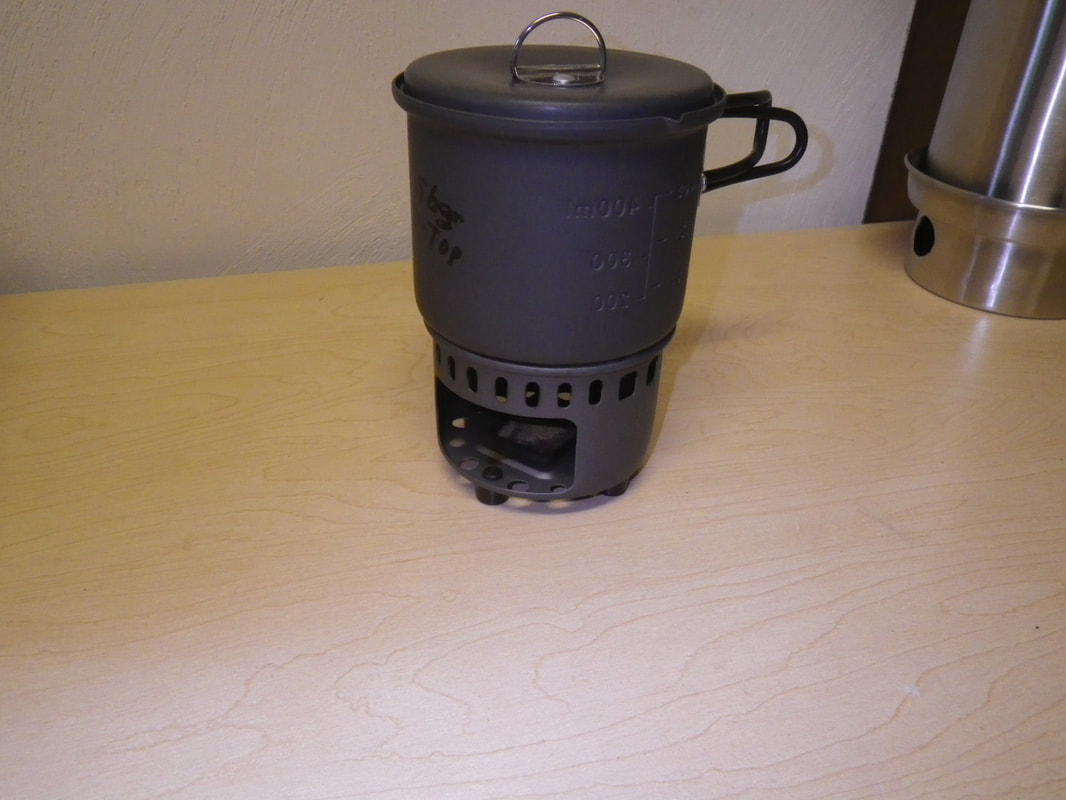
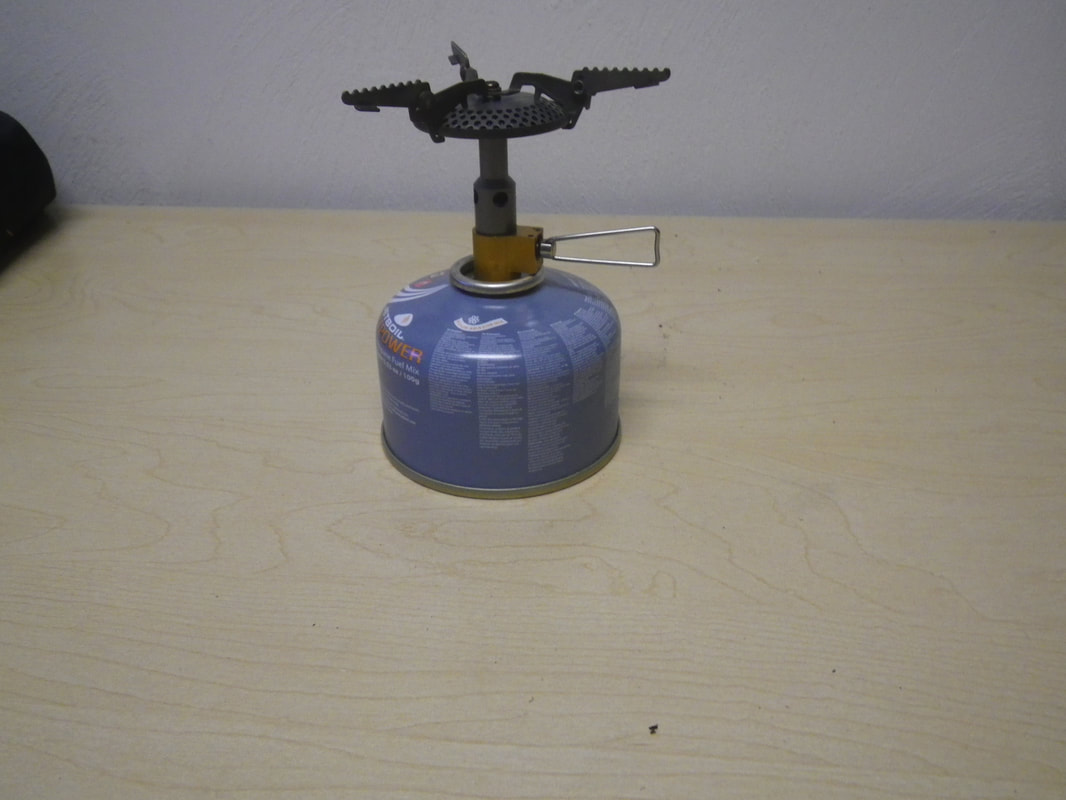
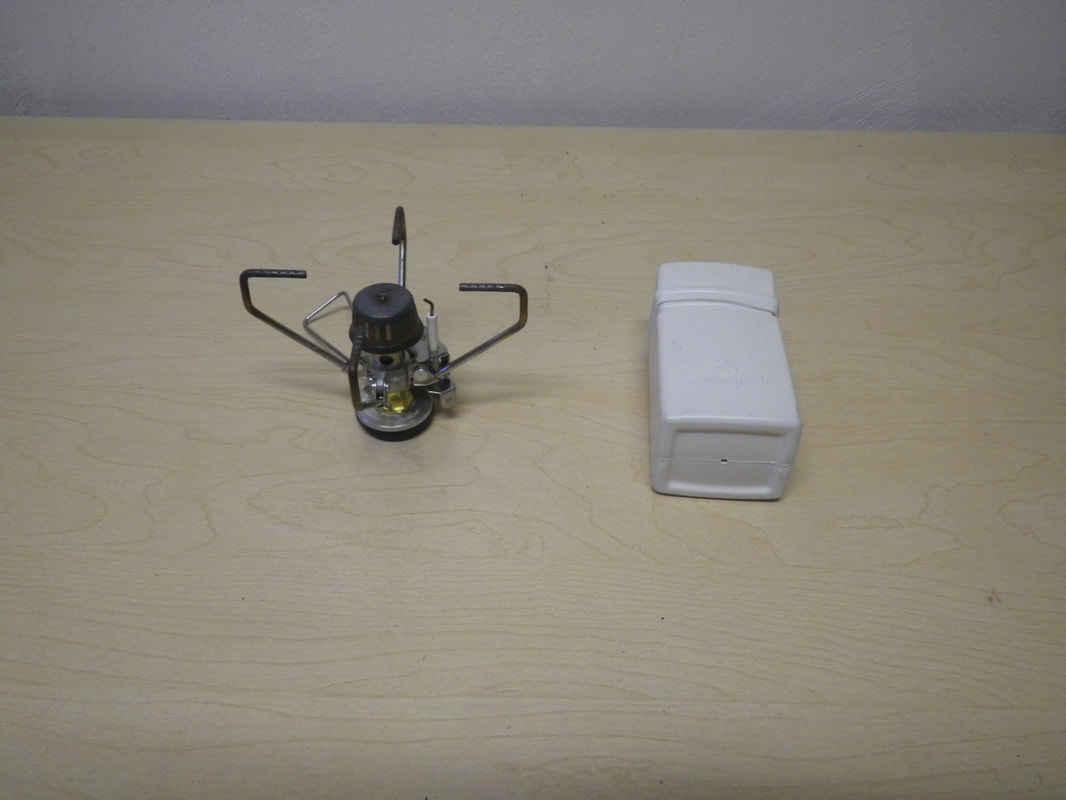
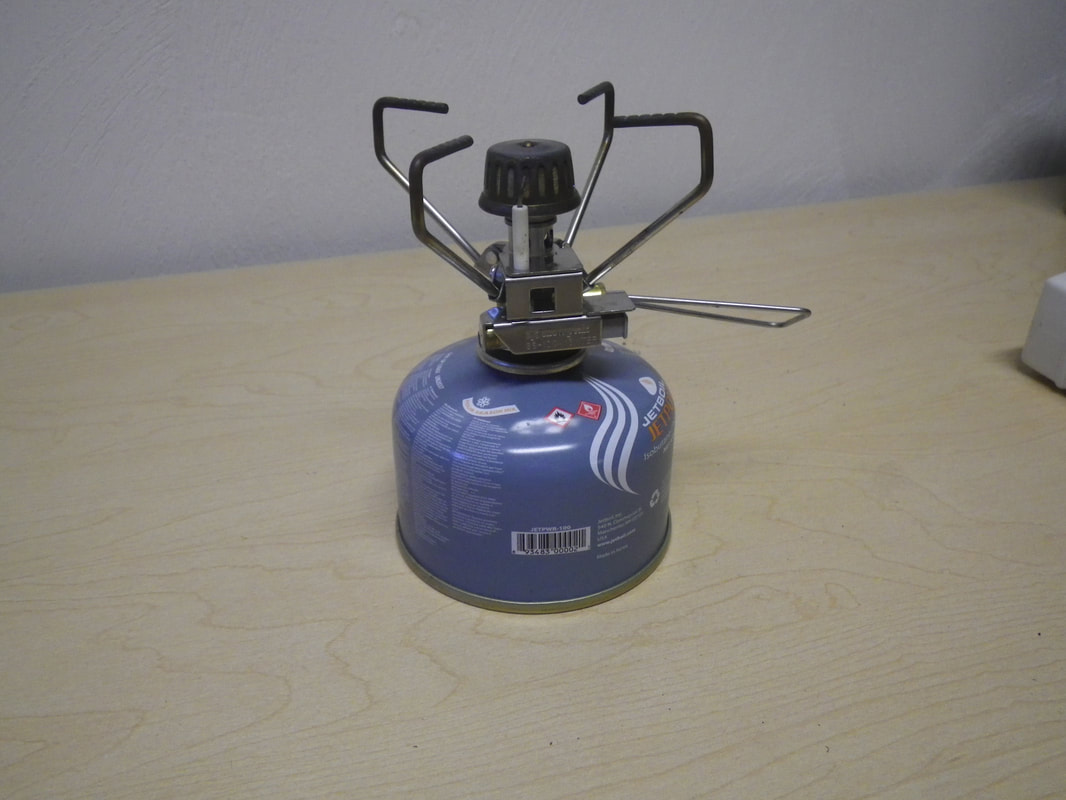
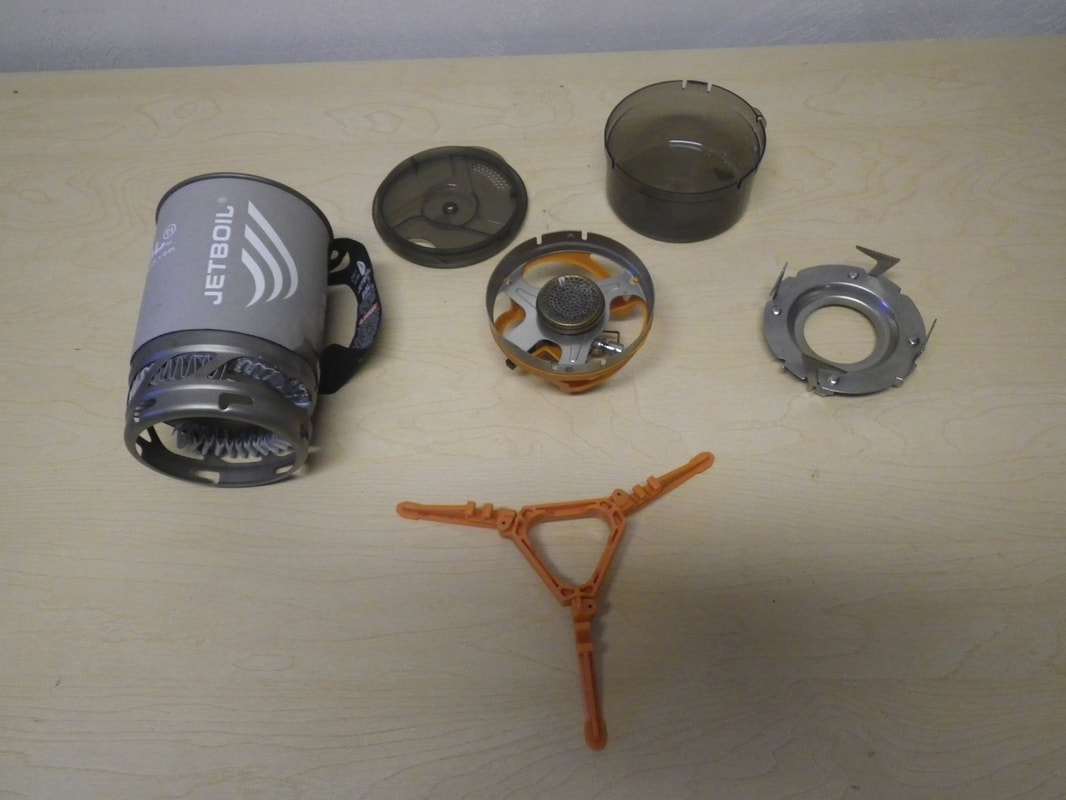
What is the right choice of gear for you?

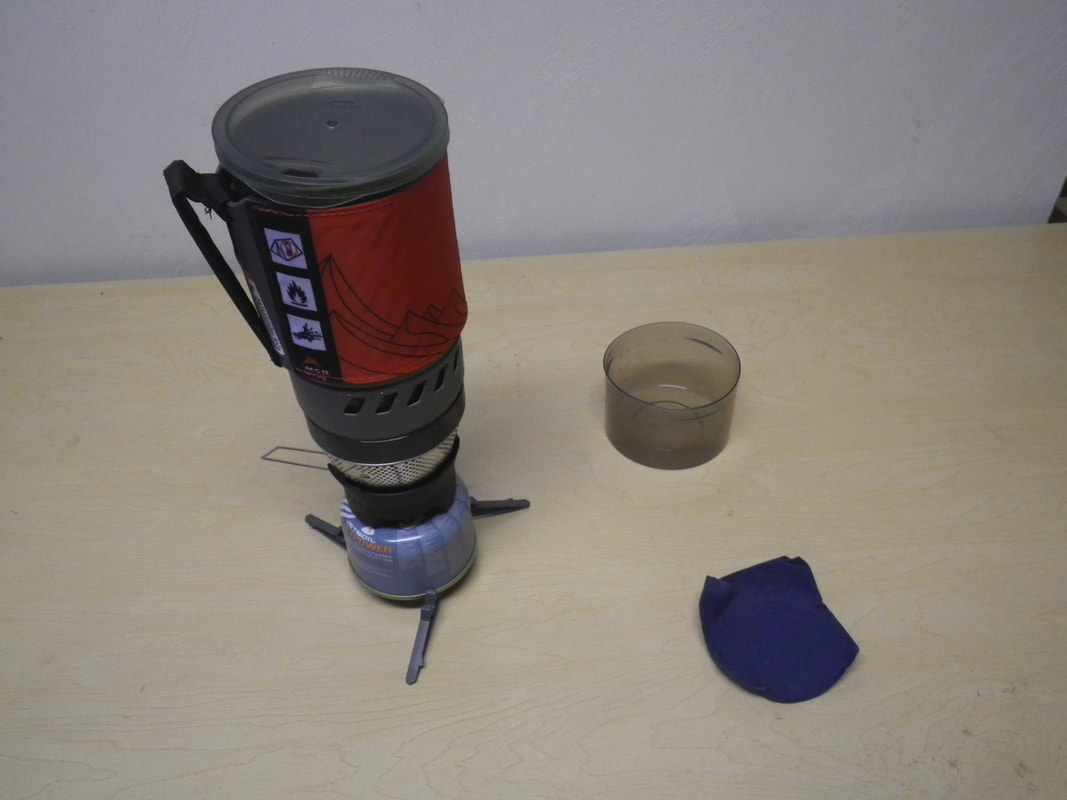
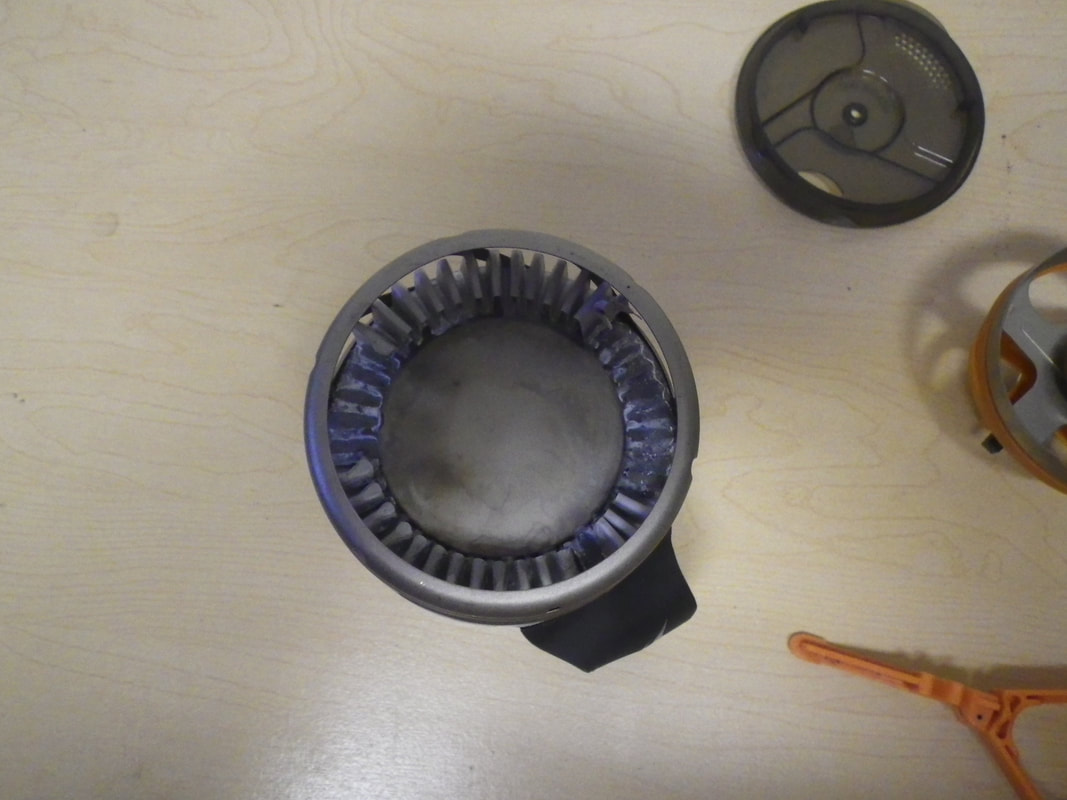
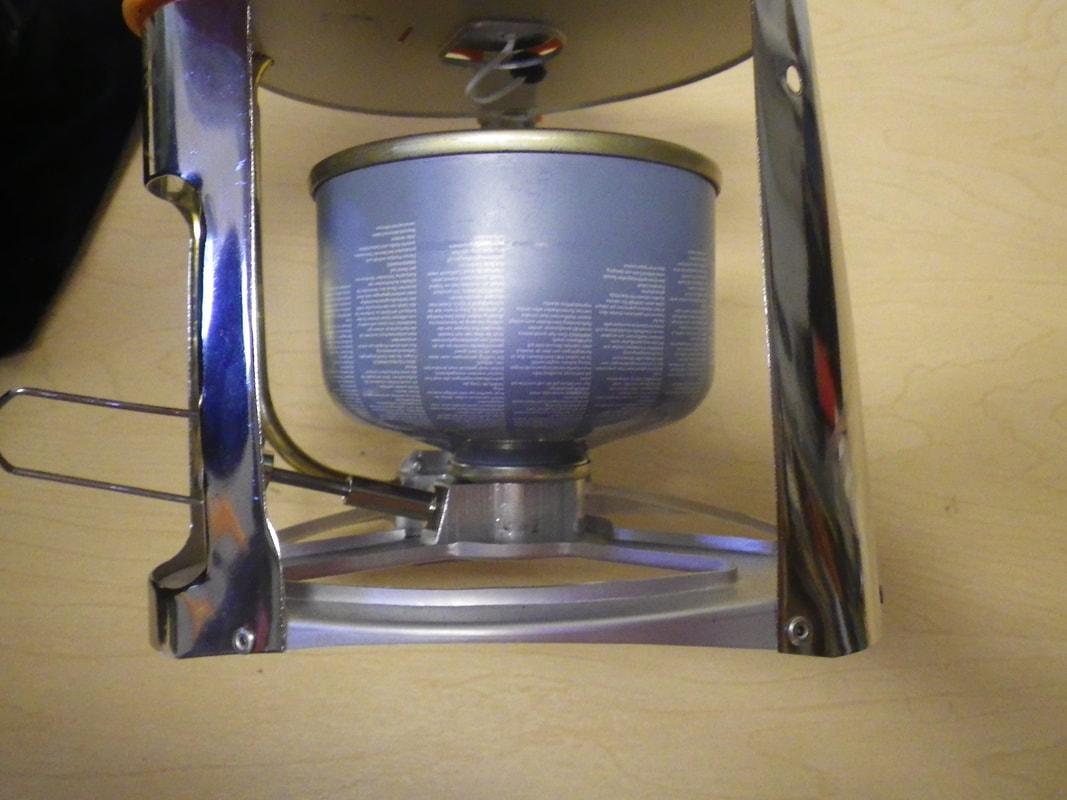
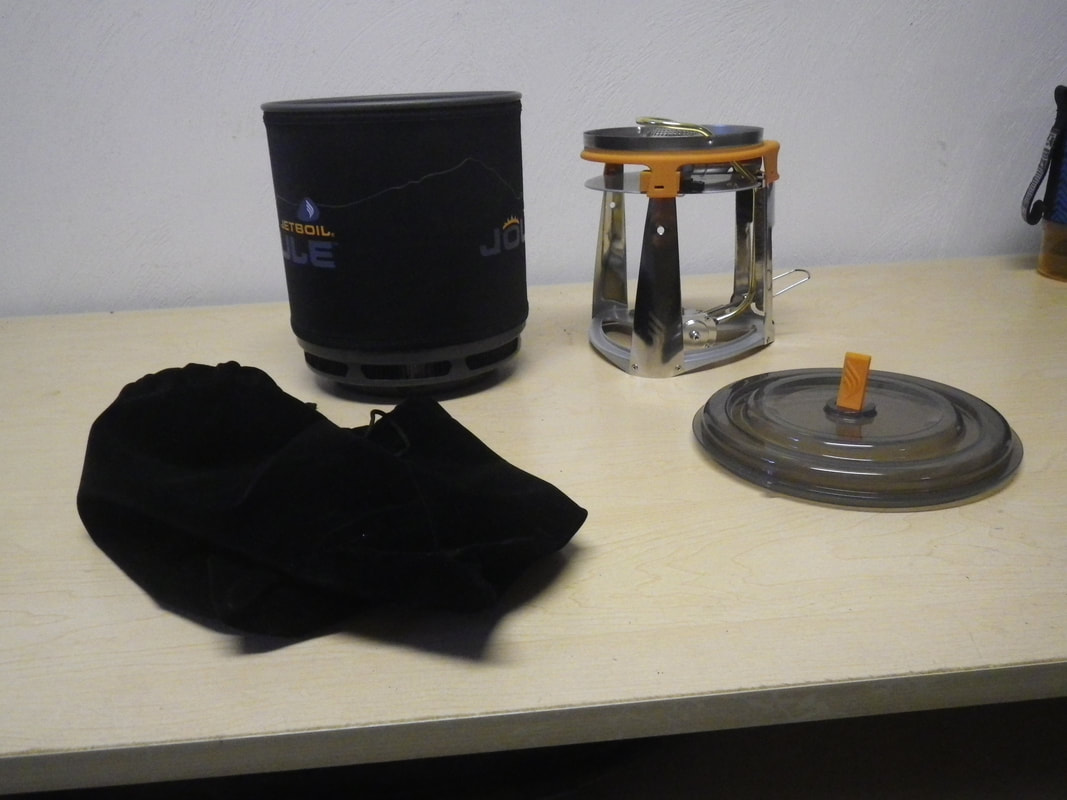
  Many people have asked me for advice on the best and lightest equipment to carry on a hike.   I have come to the understanding that you have to decide  for yourself what equipment is the most comfortable for your hike.  I can only review what I have found to be the best for me.  This blog is dedicated to evaluating some available hiking equipment so you can make a better choice.
  • Topic Overview
  • About
  • Contact
  • Backpacking/Hiking
  • Bicycling
  • Canoe/kayaking
  • Survival/Nature
  • Gear Review
  • Stories from the Trail

7/18/2019

gear rework

1 Comment

Read Now
 

What do you do if you have to compensate?

Many people ask "What is the best gear to buy?" I usually tell them what I use and let them make up their own mind.  Think about it. Most manufacturers want to make the best gear they can at the lowest price.  That means that they are going to make an average piece of gear to fit all people.  The problem is all of us are not average.  We are tall, short, skinny, large, and often handicapped in some way.  We must buy gear that is adjustable or that we can adapt to our bodies at a reasonable cost.  The more adjustable a piece of gear is, the more it will cost and the less people will want to buy it.  The three things to consider when purchasing any gear are cost, weight, and necessity.  Usually the lighter and more adjustable a piece of gear is, the more expensive it will be.  Most manufacturers use the same materials but design them in a different way.
​
I generally do not give a lot of gear advice because usually the person will end up buying the cheapest anyway.  It takes a lot of time and effort to explain the reasoning behind selecting the best gear.
Last fall I had a total shoulder replacement. I did not know what effect it would have on backpacking.  The therapist assured me that I would have no trouble carrying up to thirty pounds in my backpack.   I did not have a problem with that because I usually carry no more than twenty pounds on my back.   After my operation and therapy I took a ten mile backpack trip with a twenty-two pound pack. I had no trouble hiking up mountains on the trip, but down the mountains my shoulder ached.  
I thought about many ways I could stop this from occurring again.  I decided to design my own pack.   I have a lot of day packs.  I bought a pack called The Bacon made by Eddie Bauer and scaled it down to half its size.   That made it easy on my shoulder, but still it was not large enough to carry all my gear.  To make up for the lost space I bought a lumbar pack made by MountainSmith to compliment my other pack.  The two packs  in combination carried all my gear.   In combination both packs worked very well, but I still was not satisfied. 
The two pack concept was a lot to manage during an extended hike of more than an overnighter.  
Picture
Scar from the total shoulder replacement.
Picture
A cut down version of the Bacon by Eddie Bauer.  
Picture
A lumbar pack made by MountainSmith.
Picture
 I tried several ways to cushion the shoulder strap of a full sized Golite ultralight backpack.  I bought a soccer sock and cut the toe out of it. I filled the sock with two inches of foam rubber, eighteen inches long and pulled the pack chest strap through it.  The sock filled foam rubber did the job.
Picture
The extra cushioning in the strap allowed me to make longer backpacking trips.
The Lord makes firm the steps of the one who delights in him ; though he may stumble, he will not fall...... Psalm 37:23-24

Share

1 Comment

1/18/2018

SnowShoes

0 Comments

Read Now
 

Hiking/backpacking with snowshoes

Snowshoeing can be fun as a way to get outside and enjoy hiking in the winter time. Snowshoes can make backpacking a safer way to walk in deep snow.  I have backpacked in a deep twenty inch snow without snowshoes and I was exhausted after three miles on the Appalachian Trail.   It snowed this past week with a twelve inch snow and I have been practicing walking in my new snowshoes.

Equipment

Wear a good pair of high gators to help keep the snow and debris out of your boots.

You will need a pair of trekking poles.  Trekking poles will help you balance when you walk.

A pair of high top hiking boots will keep your socks dry and a pair of smart wool socks will keep your feet from getting cold.

The snowshoe should be lightweight and made of a strong metal/plastic design.  The snowshoes should not be too big, but should fit snuggly around your boot.  The frame should be made of an aluminum tubing.  Crampons on the bottom of the shoe should be made of a strong steel.   All front straps should be a fiber composition, whereas the heel strap should be a flexible material.    Most snowshoes are designed for a left or a right foot.    It is a good practice to get used to walking around in snowshoes before you take a winter hike.  

Picture
SNOWSHOE USE​
When wearing snowshoes you should try to keep your weight centrally located above the shoe, especially when walking downhill.  Try not to lean back when going downhill,  since leaning back will create a snowboarding effect, and you will lose your traction.   Try to keep the space between each foot wider than your normal walk.  This will keep you from walking on the other shoe. You will have to raise your foot a little higher than you normally walk. Remember that it will be harder to make sharp turns, and you will have to plan each turn ahead of the time. Most snowshoes have quick release straps so you can easily slip your foot out of the shoe if you step in a deep hole or crevasse.   Snowshoes are designed to aid you in walking in deep snow.   Walking in deep snow can be exhausting and cause you to over heat and possibly get hypothermia and die.
Picture

Snowshoe Technology

How to put on snowshoes

How to walk in snowshoes

Share

0 Comments

11/13/2017

Alcohol stoves

0 Comments

Read Now
 

Alcohol stoves are the lightest backpacking stove.  If you are determined to carry the lightest backpack, the  alcohol stove is for you.  But remember there are disadvantages  to using it.  You can only boil water with the stove and there is no way to adjust the heat.  The stove uses a minimum of two ounces of alcohol per boil.  A wind shield almost always should be used in the slightest wind and above.  The stove efficiency decreases with an increase in altitude or a decrease with temperature.  It takes longer to boil water.   With a minimal amount of skill you can make your own alcohol stove, and it will cost you little or nothing.  I have made lots of stoves out of cat food cans and aluminum soda cans.  Because the stoves are very light weight they are very fragile and dent easily.  
Picture
This is a cat food can alcohol stove.   You use a paper hole puncher to make the holes around the outside.   You can make a single or double row of holes.  Do some experiments to see what makes the best burn pattern using the least amount of fuel.  The idea is to light the alcohol through the large opening in the top, and once the alcohol begins to burn you put the pot to boil water on the top.  The flames will begin to shoot out from the sides creating a burner effect.  An added pot support allows incoming air to feed the burning alcohol.
Picture
A more durable, stainless steel Vienna sausage can also be used at a very minimal weight addition.
Picture
I made a pot support out of hardware wire.   It can be carried inside the heating pot.
Picture
Pot support and alcohol stove
Picture
Soda cans are the most efficient alcohol stoves.  There are many ways to make these stoves on You Tube.  Two soda cans are required, and the number and size of burner holes determine the stoves efficiency.   Some designs require an inner liner to be cemented into the stove.
Picture
This stove design has a sealed reservoir increasing the efficiency and decreasing the boil time.  A penny is placed over the reservoir hole after it is filled with alcohol, and you light the fumes coming out of the side of the stove.
Picture
The dent on the side of the aluminum stove proves that these alcohol stoves are very fragile.   The advantage is that you can easily make another stove. 
Picture
Here is another variation of the soda can alcohol stove with fewer holes, but larger burner holes.
Picture
Alcohol stove with pot support
Picture
Another variation of the sealed reservoir stove with a screw cap
Picture
There are commercially made alcohol stoves on the market.  This is the wind shield of a Caldera Cone Alcohol Stove.  The narrow area at the top holds the boil pot in place, while the alcohol stove is placed in the center bottom of the cone--a very efficient stove.   The disadvantage is that the aluminum cone must be put together for each burn, and eventually it be too dented to function properly.
Picture
Caldera Cone Alcohol Stove
Picture
The Solite Alcohol Stove is efficient but it is a little heavier
Picture
The Vargo Decagon Alcohol Stove is a very stable stove on which you can set your boil pot on.
Picture
I carried this crazy looking solid fuel pellet stove through part of the AT in North Carolina.  Several freak snow storms and unusually low temperatures made me go to a canister stove.
Picture
Measuring cup used to measure the required two ounces of alcohol per boil
Picture
For a longer hike I carry several eight ounce alcohol leak proof containers.  I can go for eight days before I refill.  To save fuel while ultralight backpacking, I eat a cold breakfast, power bars for lunch, and only burn the stove for dinner.

Share

0 Comments

7/12/2017

Wood-burning  Stoves

0 Comments

Read Now
 

​SOLID FUEL/WOOD BURNING BACKPACKING STOVES

The Bushbuddy wood burning stove is a double-walled heat-shielded backpacking stove.  There are several other stoves that look very similar and perform in the same way as this stove.  There is even a do-it-yourself version that you can make at home.  The concept is simple in that there are holes at the bottom of the cylinder to let in needed air for combustion and the heat and gasses excape out the top heating the container on top.  A wind shield is needed to contain the burning action and to keep an even flow of warm air up the can.  I have found that the average time to boil a liter of water is about ten minutes. The stove weighs around five ounces or 141.7 grams.  With the addition of a solid fuel container, when wood is wet, you may burn an esbit tablet to heat your water.
Picture
You may use wood or solid fuel blocks for fuel.
Picture
Internal grate allows ashes to fall to the bottom of the stove.
Picture
Esbit solid fuel container.

Four Dog Wood burning Stove

The Four Dog wood burning stove is a very small one pieced self contained stove.  It has four metal wedges welded onto the top of the rim to hold a small pot of less than one liter.  The air supply enters from the side holes and crosses over a twisted pie shaped disk to the pot.  The stove is made stainless steel but is also available in titanium metal.  The time to boil a pot of water is approximately eight to ten minutes.  The stove weighs 62 grams or 2.2 ounces.
Picture
Fresh air intake holes are drilled in the sides of the stove for clean burning.
Picture
A built-in turbine helps direct the heat up to your pot.
Kelly kettle with pot support.
Picture
Kelly kettle wood burning stove with outside water jacket.
Picture
Components of a typical esbit stove.
Picture
Esbit solid fuel blocks.
Picture
Esbit solid fuel burning stove video.
I use dryer lint and a composite stick to start my wood.
Picture
Pictured below are a few of the ways I start my kindling.
Picture

Share

0 Comments

7/12/2017

Canister Stoves

1 Comment

Read Now
 
Gear Review of Some of My Backpacking Canister Stoves
There are many canister backpacking stoves on the market today.  All of them claim to be the best stove available today.  There are many factors that go into selecting the best stove for you. You have to consider the hiking temperature, wind speed, your hiking elevation, and whether the stove will be used just to boil water or to cook a full meal.  Most manufacturers are going to rate boil/cook times under ideal conditions.  All canister backpacking stoves are much heavier and require  a fuel canister .
Picture
The Gnat is one of the lightest stoves on the market.  But remember the lighter the stove, the more costly and less efficient it may be.  When evaluating gear I almost always use the metric system.  The metric system is based on the ten's scale, and you do not have to use mixed calibrations.  Measuring the weight in grams works best for me.  Most scales have both ounces and grams conversions.  I use a Weight Watchers' scale for lighter measurements and a postal scale for heavier gear.

Picture
 The Gnat has no wind screen or built-in igniter.  The Gnat by Monsanto is one of the lightest canister stoves I have found.  You simply unfold the arms and screw it onto a fuel canister.
Picture
The pocket rocket is a step up from the Gnat. It weighs slightly more than the Gnat, but it is more efficient and has a shorter boiling time.  It comes in a plastic container built for protection. It does have an ignitor for an easy start.
Picture
The Pocket Rocket comes with a canister stabilizer to keep it from tipping during use.
Picture
The Jet Boil Canister Stove comes with a pot and top combined with a baffled heat exchanger.   The pot sits on top of a burner connected to a gas canister.  It has an Pizeo ignitor to eliminate the need for matches.   An orange stabilizer makes the canister more stable on the ground.  A metal ring attachment allows you to use the stove with a frypan.  You can get a one liter or an .8 liter pot.  
Picture
Jet Boil with a one liter pot.  Canister stabilizer and cup also come with the stove.
Picture
At the top of the picture is an adaptor, which when placed on top of the burner will allow you use a fry pan or larger pot. 
Picture
Jet Boil burner with ignitor.
Picture
MSR makes a canister stove similar to the Jet Boil.  Boiling times are very similar.
Picture
The major difference is that the heat exchanger gets very hot and you can get burned if you are not careful.  The MSR also is very noisy and sould like a freight train.
Picture
The Jet Boil Titanium  was one of the lightest canister stoves manufactured, but it was taken off the market because of design flaws.  The titanium baffles used for the heat exchanger melted under extreme heat from the burner, creating uneven heating hot spots in the pot.  
Picture
Jet Boil makes a larger canister stove for used when cooking for larger groups.  The inverted canister improves the stove's efficiency.
Picture
The fuel is also preheated for better efficiency.
Picture
A larger pot, carrying curtain and top with flip lid come with the larger stove.
Picture
 The liquid fuel stove is an alternative to the Jet Boil for use in extreme cold weather conditions.  It is much heavier, but it functions well in freezing temperatures.  Canister stoves have a tendency to freeze up and be less efficient.

Share

1 Comment
Details

    Author

    Write something about yourself. No need to be fancy, just an overview.

    Archives

    July 2019
    January 2018
    November 2017
    July 2017

    Categories

    All

    RSS Feed

© John Baranowski
  • Topic Overview
  • About
  • Contact
  • Backpacking/Hiking
  • Bicycling
  • Canoe/kayaking
  • Survival/Nature
  • Gear Review
  • Stories from the Trail